Tabletop gaming has captured the hearts of many enthusiasts around the world, offering immersive and engaging experiences that bring miniature worlds to life. One essential element for a captivating gaming session is a well-crafted terrain board. However, purchasing pre-made boards can be expensive, leading many hobbyists to create their own budget-friendly versions. In this article, we’ll explore how to make cheap miniature tabletop gaming textured terrain boards that enhance your gaming experience without breaking the bank.
Before diving into the step-by-step guide, gather the following materials:
Styrofoam Sheets: Easily available at craft stores or home improvement centers, styrofoam sheets serve as the base for your terrain boards.
Craft Knife or Hot Wire Cutter: To cut and shape the styrofoam sheets into desired terrains.
Sandpaper: Used to smooth out rough edges and surfaces.
Acrylic Paints: Choose a variety of colors to add texture and realism to your terrain boards.
Paintbrushes: Various sizes to apply paint with precision.
PVA Glue: Ideal for securing pieces and providing durability.
Miniature Basing Materials: Such as texture paints, static grass, miniature rocks, and model trees for added visual appeal.
Making A Miniature Tabletop Terrain Board Instructions
Design Your Terrain: Decide on the theme and layout of your terrain board. Sketch out your ideas on paper or use a digital design tool for visualization.
Prepare the Styrofoam Or Cardboard: Using the craft knife, scissors or hot wire cutter, cut the styrofoam sheets to match the desired size and shape of your terrain. Stack and glue multiple layers if you want varying elevations.
Carve and Shape: Sculpt the terrain’s features, such as hills, mountains, rivers, and caves, into the styrofoam using the craft knife or hot wire cutter. Be patient and work slowly to achieve the desired details.
Smooth the Surfaces: Sand down any rough edges and surfaces to create a more natural and polished appearance.
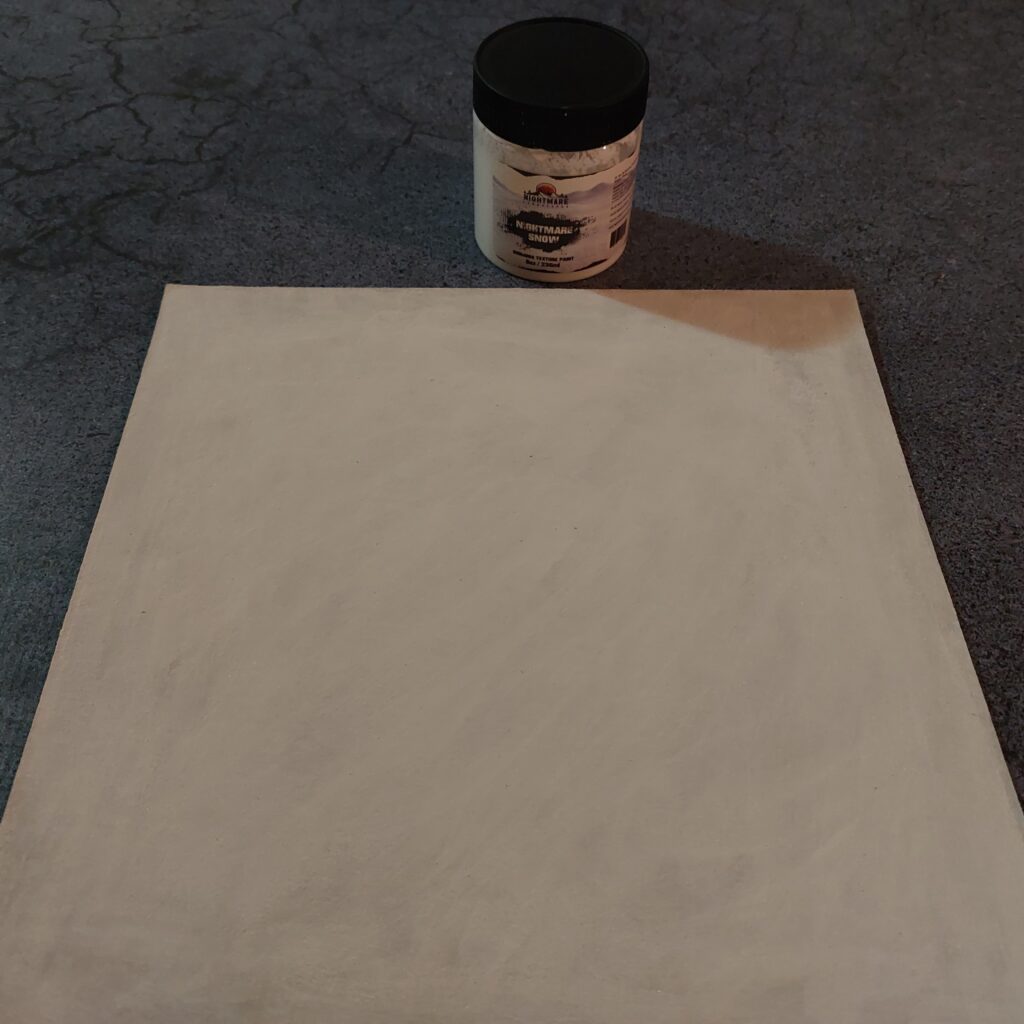
Textured Acrylic Paints: Use miniature acrylic texture paints to achieve various textures, such as grassy areas, rocky patches, or sandy beaches or snowy tundras. Apply the paint using brushes, and don’t be afraid to experiment with layering and blending.
Add Details: Enhance the terrain’s realism by adding small details like shrubbery, rocks, or fallen branches. Use PVA glue to attach these elements securely.
Flocking and Vegetation: Sprinkle static grass, miniature rocks, and model trees onto the terrain while the paint &/or glue is still wet. Press them gently to ensure they stick. This step adds depth and realism to your tabletop landscape.
Allow to Dry: Let your textured terrain board dry completely before using it for gaming sessions.
(optional) You can add different colors of acrylic paints to further enhance terrain & scenery details
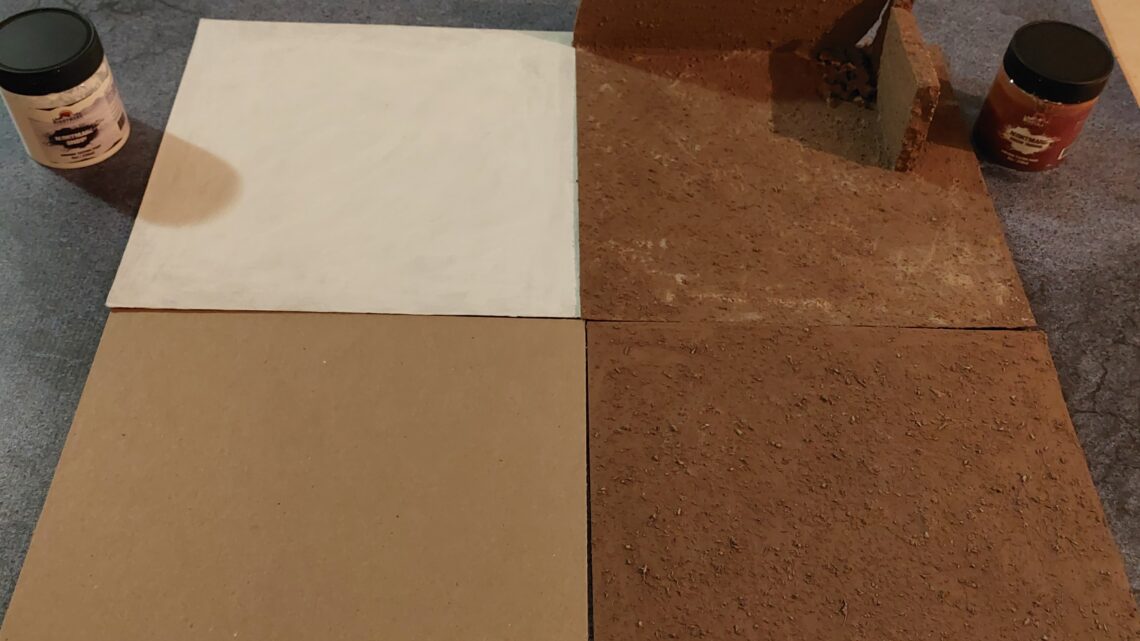
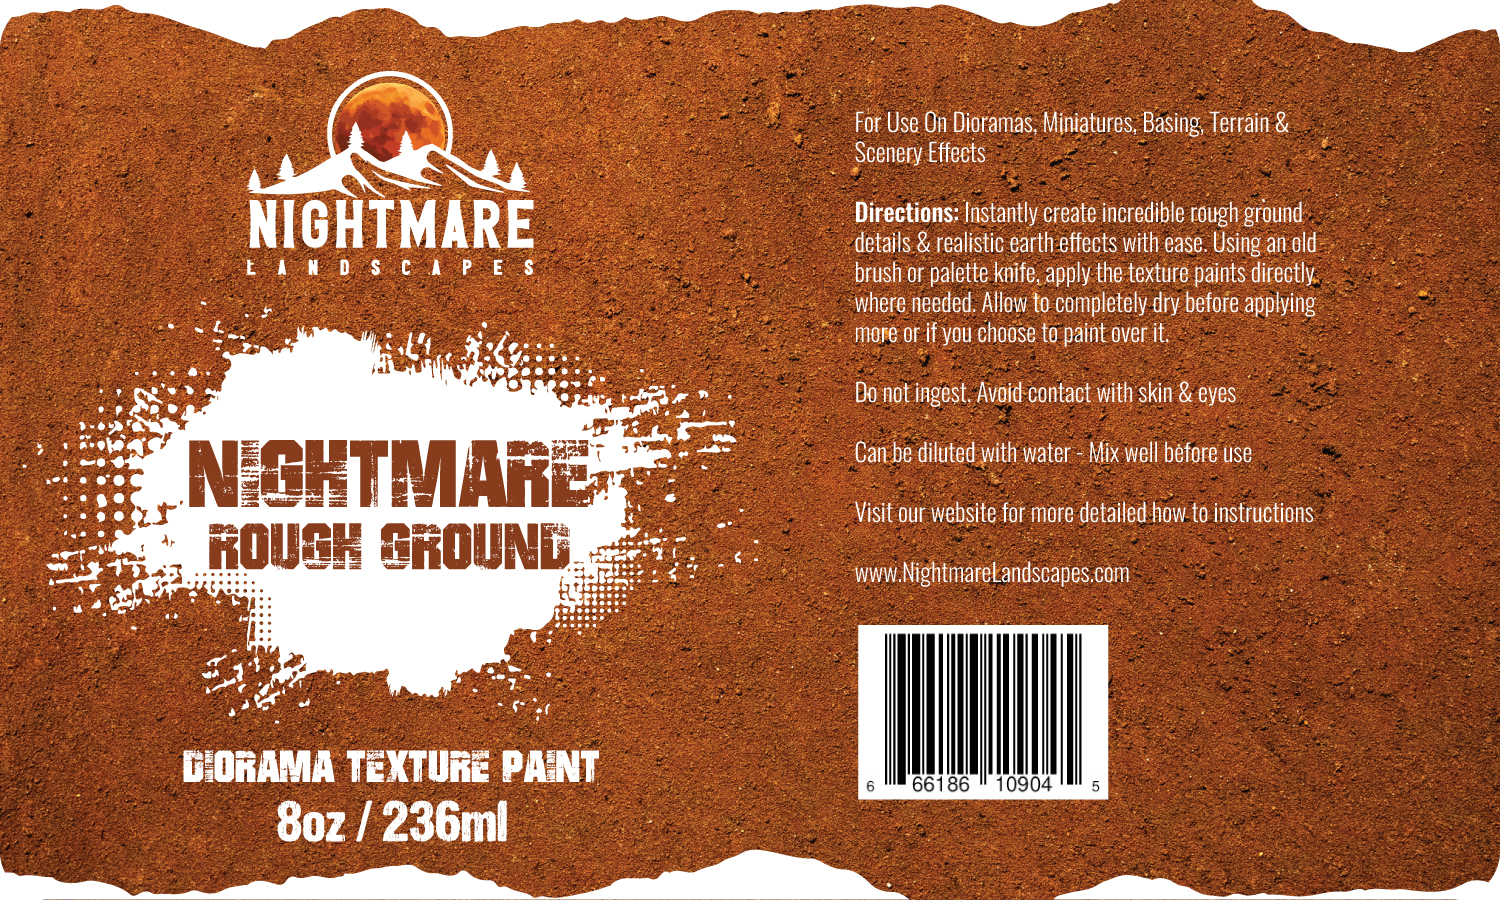
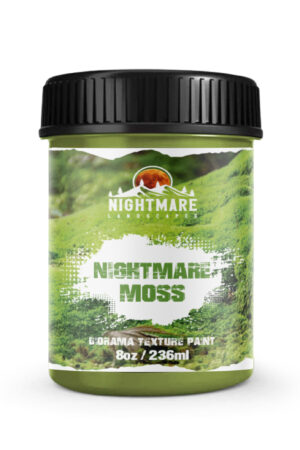
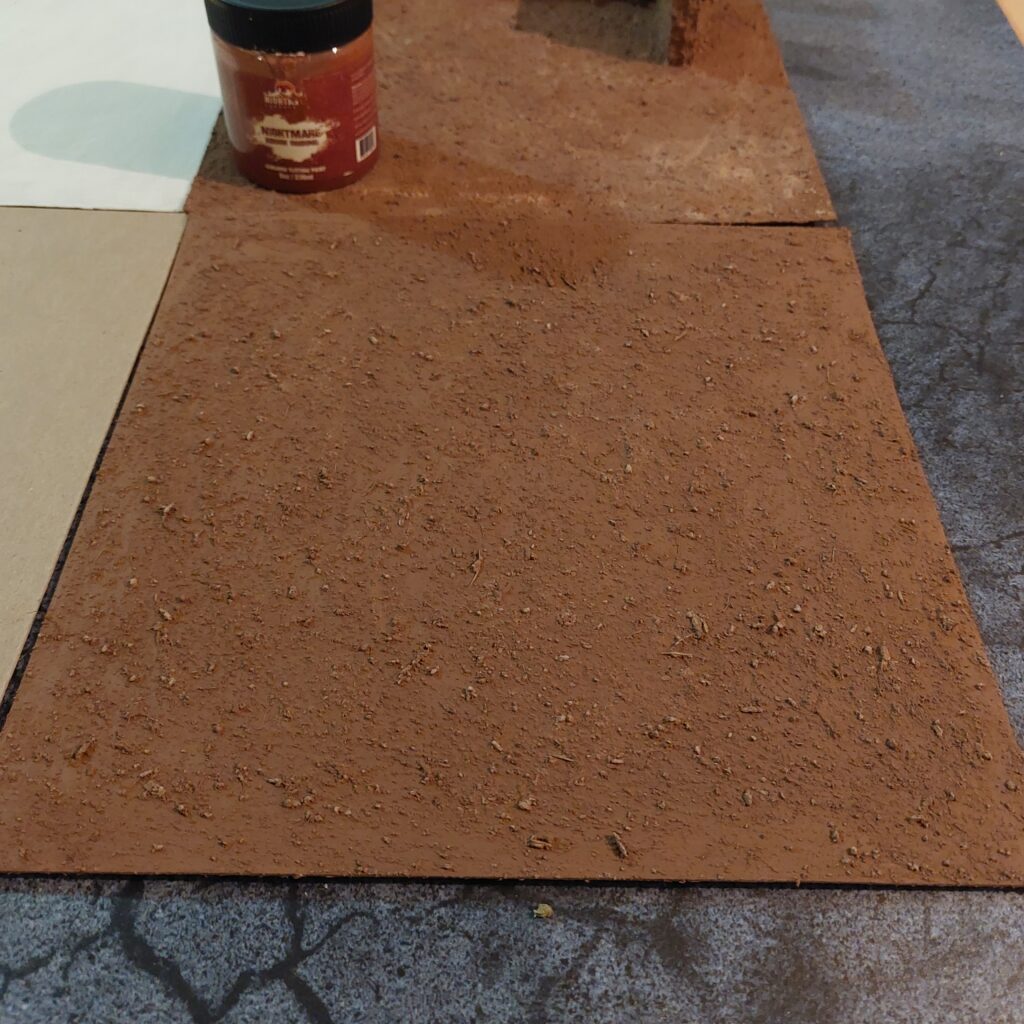
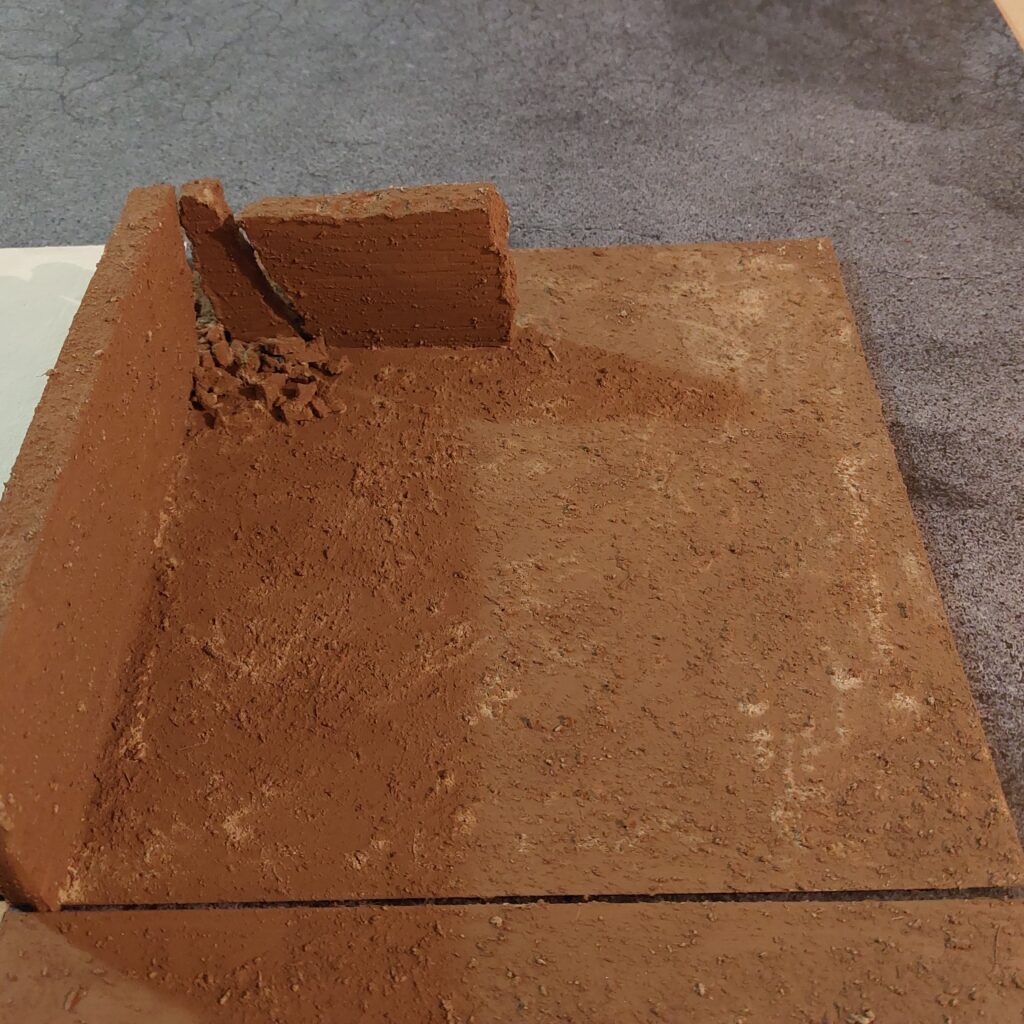
We started off with our base board tile and glued some pieces of cardboard around in a random placement. Once dry, we added our Nightmare Rough Ground texture paint. 3x coats were used here to get the right coverage and textures we were looking for, but you can add more or less depending upon what exactly you want.
Once the texture paints are dry, the boards can be used right away for tabletop gaming, or you can further enhance details by priming some areas and/or adding acrylic paints, flocking, adding grasses, rocks & more. It’s all up to your imagination.